


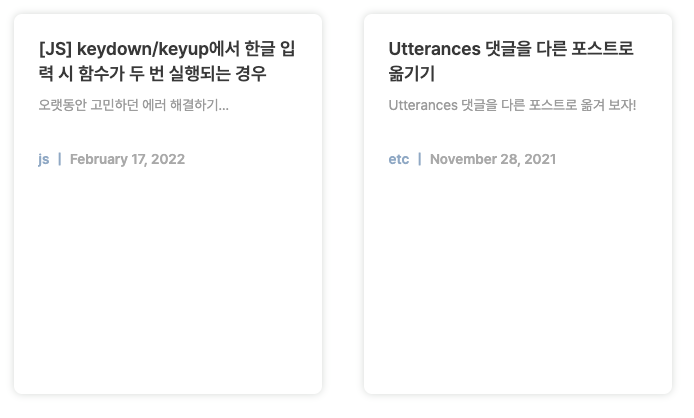
포스트 목록에 썸네일 이미지를 추가하고 싶어서 gatsby-plugin-image 라이브러리의 StaticImage로 구현해 보고 있었다. 그런데 emotion의 styled를 적용하면 이미지가 아예 뜨질 않았다 😳
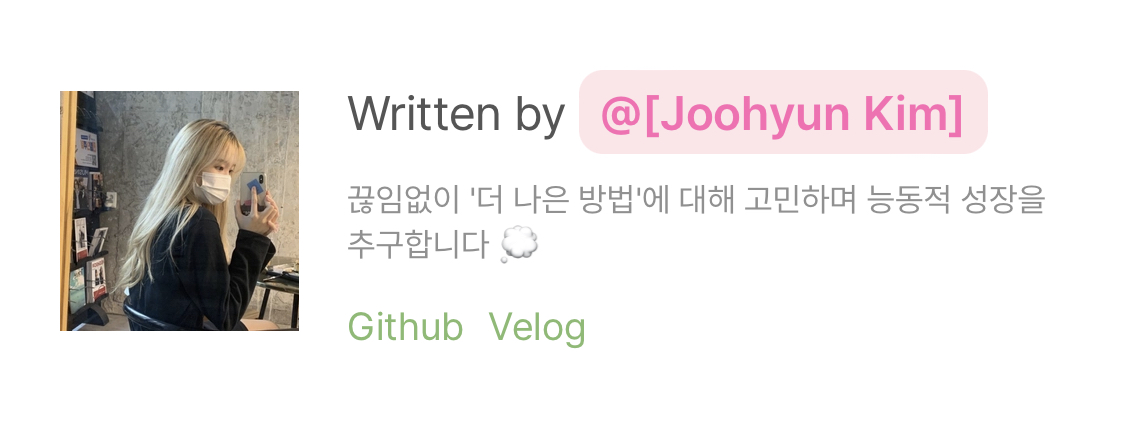
또 프로필 이미지에는 GatsbyImage를 사용했는데, PC 화면에서는 스타일이 잘 적용되어 보이지만 모바일 화면에서는 적용되지 않은 채 보이는 일이 발생했다…
1. <StaticImage/>에 스타일 적용하기
emotion의 styled를 사용하는 경우
그냥 <StaticImage />를 사용하는 경우

Gatsby 공식문서
아무리 봐도 고작 styled 사용 유무만 달라서 검색해 보다가 Gatsby 공식 문서의 내용을 보게 되었는데…
If you use Emotion you can use the provided css prop instead
Emotion을 사용하면 css prop을 사용해라!
Unfortunately the css prop from styled-components turns the code into a styled function under the hood and as explained above StaticImage doesn’t support that syntax. You can also use a regular style or className prop. Note that in all of these cases the styling is applied to the wrapper, not the image itself.
StaticImage 는 styled-components를 지원하지 않기 때문에 regular style이나 className prop을 이용해야 한다.
해결!
css prop을 이용하여 해결했다.
import { css } from '@emotion/react';
import { StaticImage } from 'gatsby-plugin-image';

<StaticImage
  src="./cat.jpg"
  alt="A kitten"
  css={css`
    width: 100%;
    height: 205px;
    object-fit: cover;
  `}
/>;
2. <GatsbyImage/>에 스타일 적용하기
<GatsbyImage/>를 사용하여 프로필 사진을 띄웠는데, PC 화면에서 보면 스타일(border-radius)이 잘 적용돼서 나오지만, 모바일 화면에서는 적용되지 않았다!
 그래서 찾아보니…
 imgStyle의 props로 넘겨 주면 된다고 한다.
그래서 다음과같이 해결했다!
<ProfileImage
  image={profileImage}
  alt="Profile image"
  imgStyle={{ borderRadius: '40%' }}
/>